
So let’s say you followed my advice and started an Evernote account. You heard it’s a solution to your productivity problems. You heard it’s simple and fun to use. Not only that, but you heard it will be life-changing.
You take the plunge, and the first thing you see after creating an account is this:
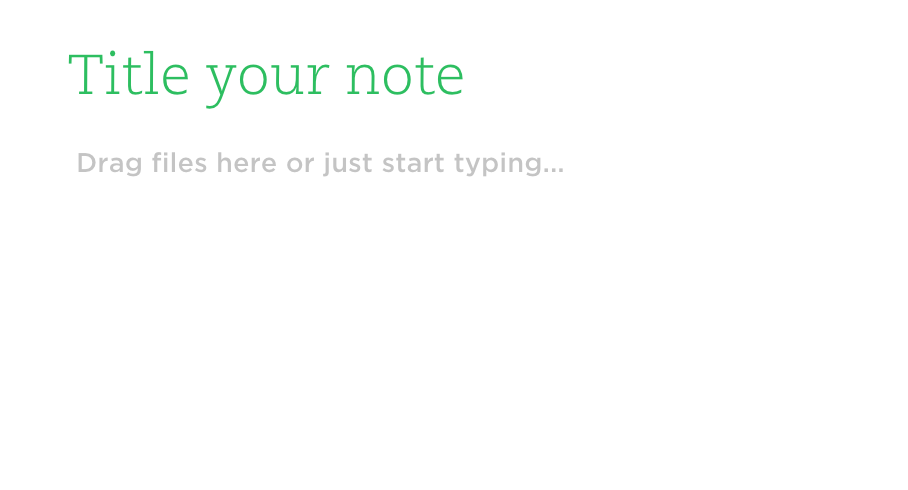
Which is really more like:

This is a perfectly understandable response. I get it; a blank screen can be daunting. That’s why I’m here to help. Here are a few steps that you can take to turn Evernote from a blank screen to a world of possibilities.
1. Start by making notebooks.
Notebooks are the basic building blocks of Evernote. They’re where you’ll put notes as you generate them, and like folders on your computer, they’ll help you keep track of everything as your documents begin to pile up. Think of them as all the different parts of your life, the types of files you use, random categories… whatever is going to help keep your ideas straight as you start building on the tool. Don’t worry too much about being overly organized at this step. The beauty of Evernote is that, however you use it, the tool will begin to help you sort and organize every bit of information you record, automatically.
2. Load in your documents and pictures.
This is key. You don’t want to shift your life over to Evernote, only to have to trade back-and-forth between file locations in different places. Do this, and your head will be spinning in no time. Evernote is made to be your one-stop place for every file you have. Load as much onto Evernote as you can; you’ll thank yourself when you’re in the airport and need to access a file on the cloud, or if you want to collaborate on a shared document and want the latest version available to everybody on your team in a flash.
3. Start tagging your ideas in categories.
Like the notebooks above, tags are just another way for you to group and sort your files and notes. The benefit of using tags for organization is that one file can have multiple tags, and it becomes easier to categorize a file as you’re creating it. Now, when you’re trying to search for something and it’s just on the tip of your tongue, you can start searching things like: “Dogs… Pets… Leashes… Bones…” Odds are, if your file is somewhere in the canine family, you used a tag in a related category like these, and your search will be more successful.
4. Invite your friends! Coworkers too!
Like everything in life except brushing your teeth or going to the doctor’s, Evernote becomes a richer experience with other people. Sharing notes, pictures, files, and to-do lists will allow you to pool resources with everybody, including family and friends. The more cross-platform sharing, the more you’re able to search and draw upon, and the more notes you’ll be able to make. Collaboration becomes easier, communication becomes easier, life becomes easier. Maybe “hive minds” aren’t so scary after all…
5. Download Evernote on all your devices.
This is where the network you’ve built on Evernote goes global. On your phone, tablet, or other devices, you’ll be able to access, create, and share notes wherever you are. Take iPhone notes on the fly, and you can trust that you’ll be able to capitalize on your spontaneity later on. It’s like you’re pulling the weight of your entire workspace and lifestyle all the time… with far less heavy lifting involved.
There you have it, 5 steps to getting started in Evernote. We’ve gone from a blank screen to…
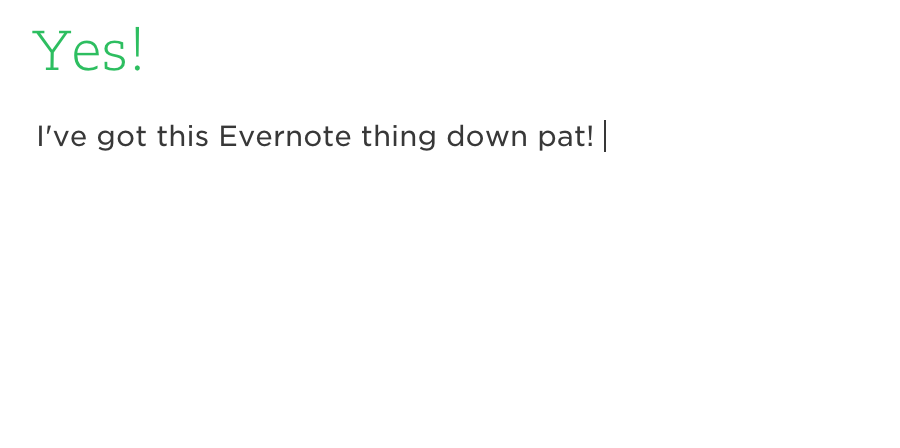
… in no time at all!